nail tutorial- black skull.
you'll need red nail polish (or other color you wish for :P)
black nail polish, red art-pencil and black art-pencil.
1. you start with simple blood red fundation.
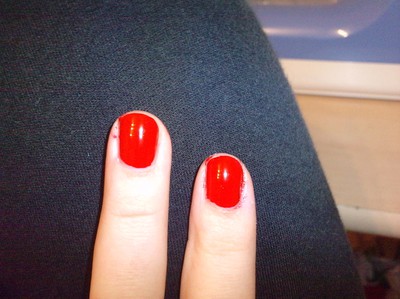
2. you do a kinda big round black dot on the center of the nail, and then a smaller part on the dots under-side thats gonna be the jaw of the skull. like this:

3. you do a cross with the black art pencil right under the "skull".
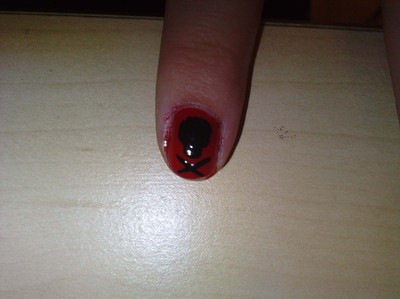
4. you do two small dots on each end of the cross
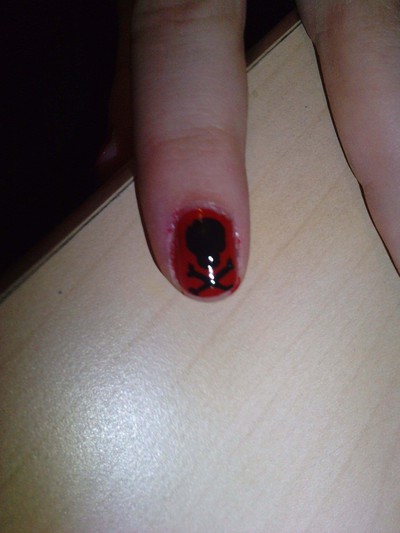
5. now you take the red art pencil and do two dots n the skull, for eyes.
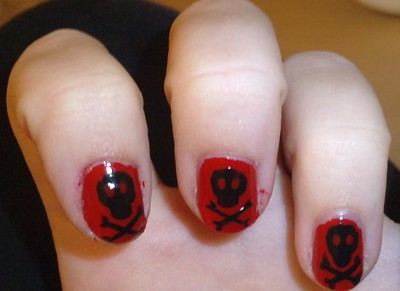
done!! ;)
black nail polish, red art-pencil and black art-pencil.
1. you start with simple blood red fundation.

2. you do a kinda big round black dot on the center of the nail, and then a smaller part on the dots under-side thats gonna be the jaw of the skull. like this:

3. you do a cross with the black art pencil right under the "skull".

4. you do two small dots on each end of the cross

5. now you take the red art pencil and do two dots n the skull, for eyes.
done!! ;)

punk nails totarial :)
first, you need black , white and if you want to do it like i did, some neon color nail polish. (and an black art-pencil.)
the fundation is gonna be black.
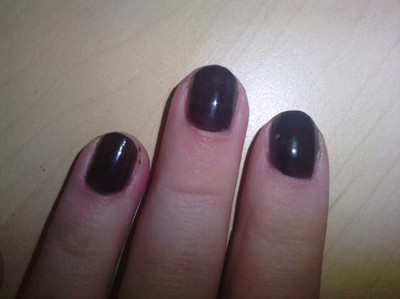
then you do the small quares, in white (its not a problem if they dont really look like squares yet, you will fix that later,)

then, if you just want them white, i would suggest that you take white nailpolish on top of the white, one more time, because then it will look better.
but if you want any other color, you just take the (in my case pink) color, and do the exact same squares on top of your white squares.
 if you dont understand why you have to do it in white first, its because the color would'nt show if you just did it on black right away.
and the last step is to correct the edges of the squares. thats why you need a black art-pencil. just paint along the sides of the square, and since the fundation also is black, you wont see, that it even is corrected.
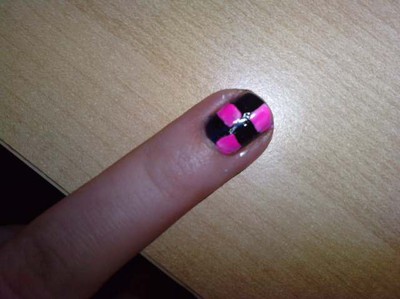 see? ;)
thats all you need to do ;)
the fundation is gonna be black.

then you do the small quares, in white (its not a problem if they dont really look like squares yet, you will fix that later,)

then, if you just want them white, i would suggest that you take white nailpolish on top of the white, one more time, because then it will look better.
but if you want any other color, you just take the (in my case pink) color, and do the exact same squares on top of your white squares.
 if you dont understand why you have to do it in white first, its because the color would'nt show if you just did it on black right away.
and the last step is to correct the edges of the squares. thats why you need a black art-pencil. just paint along the sides of the square, and since the fundation also is black, you wont see, that it even is corrected.
 see? ;)
thats all you need to do ;)
tutorial on corset nails :)
this works with ANY colors you want, but i took these :)
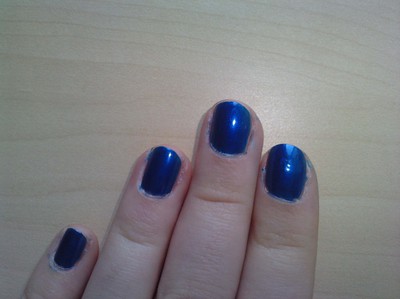 first you need blue nailpolish, as the "fundation"
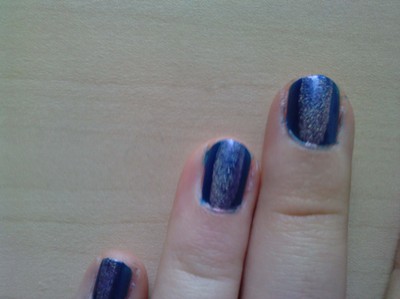 then i took a ligh purple nailpolish and just stroke a line in the middle of the nail.
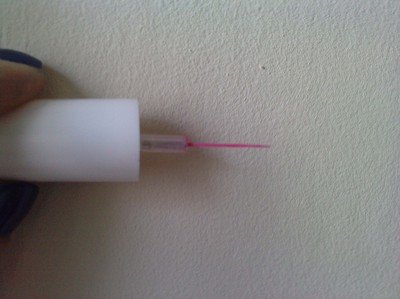 ´for this part you will need an art pencil, or a toothpick, but its much easier with an art pencil.
 then you make small lines on the (in this case) purple line.
 then you turn the lines into small crosses
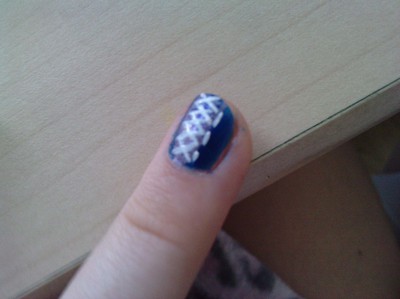 the last touches are the small lines on the sides of the purple line.
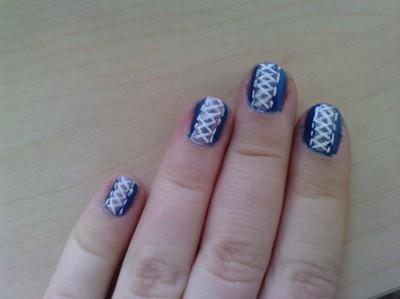 DONE! :)
 first you need blue nailpolish, as the "fundation"
 then i took a ligh purple nailpolish and just stroke a line in the middle of the nail.
 ´for this part you will need an art pencil, or a toothpick, but its much easier with an art pencil.
 then you make small lines on the (in this case) purple line.
  then you turn the lines into small crosses
 the last touches are the small lines on the sides of the purple line.
  DONE! :)
tutorial on U.K nails!
sorry for the stupid quality, its because i did my nails BEFORE i decided to do a tutorial, so you will get a tutorial thats actually done on paint and thoes are NOT my nails xD
1. you need:
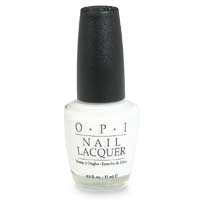 white nail polish,
 red nail polish
 blue nail polish.
now, i only have one nail polish art-pencil. so after i've used it, i just clean it up with nail polish remover, and then i can use it for another color.
if you dont have an art-pencil, then you can use a toothpick:
 but it will be A LOT harder if you choose do do it with a toothpick.
so you beguin with the foundation. This time its white.
1.
then you beguin with the red nail polish. for that you now need the art pencil or a toothpick.
you do a doubble stripe on the cross in the middle, because its supposed to be a bit thicker then the other
ones.
2.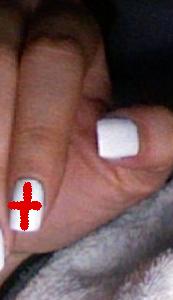 (i know, super quality! xD)
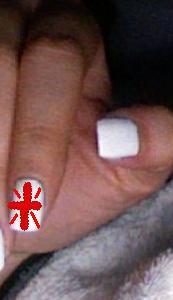
then you just add the diagonal cross, but it should be a bit thiner now.
3.
and the last step is to fill in with the blue. for that one you also need an art- pencill. but dont paint over all the white- leave some small white stripes between the red and blue, its supposed to be like that. ;)
4. okay, now that was a horrible picture, but i think you get the idea? i hope so, aat least, and if you read the instructions you should get it, its really not so hard :P
that was all, hope u like it! ;)
1. you need:
 white nail polish,
 blue nail polish.
now, i only have one nail polish art-pencil. so after i've used it, i just clean it up with nail polish remover, and then i can use it for another color.
if you dont have an art-pencil, then you can use a toothpick:
 but it will be A LOT harder if you choose do do it with a toothpick.
so you beguin with the foundation. This time its white.
1.

then you beguin with the red nail polish. for that you now need the art pencil or a toothpick.
you do a doubble stripe on the cross in the middle, because its supposed to be a bit thicker then the other
ones.
2.
 (i know, super quality! xD)
then you just add the diagonal cross, but it should be a bit thiner now.
3.

and the last step is to fill in with the blue. for that one you also need an art- pencill. but dont paint over all the white- leave some small white stripes between the red and blue, its supposed to be like that. ;)
4.
 okay, now that was a horrible picture, but i think you get the idea? i hope so, aat least, and if you read the instructions you should get it, its really not so hard :P
that was all, hope u like it! ;)

